
Posted by Pamusan.com
on October 09, 2025
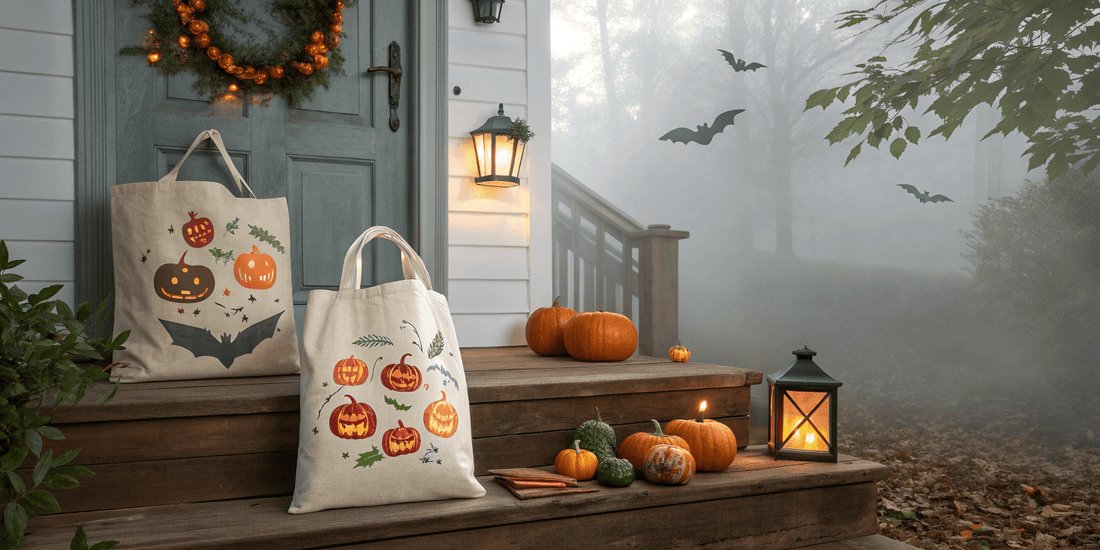
Halloween Bag DIY: Create Your Own Spooky Stylish Trick-or-Treat Bags
As Halloween approaches, the excitement of trick-or-treating fills the air. One of the most essential accessories for this festive occasion is a stylish trick-or-treat bag. Instead of opting for store-bought options, why not embark on a fun project and create your own spooky Halloween bags? In this guide, we will walk you through the steps to make your own Halloween bags that are not only functional but also reflect your unique style. Let’s dive into this Halloween Bag DIY adventure!

Materials You Will Need
Before you start your DIY Halloween trick-or-treat bags, gather the following materials:
- Plain canvas or fabric bags (available at craft stores)
- Fabric paint or markers
- Stencils (spooky shapes like ghosts, pumpkins, and bats)
- Glitter (optional for added sparkle)
- Scissors
- Iron-on patches (optional)
- Ribbons or fabric scraps for embellishments
Step-by-Step Instructions
Step 1: Choose Your Design
Start by brainstorming the design for your custom trick-or-treat bags. Consider using classic Halloween motifs such as witches, skeletons, or spooky trees. Sketch your ideas on paper to visualize how they will look on the bag.
Step 2: Prepare the Bag
Lay your plain canvas or fabric bag flat on a clean surface. If you’re using fabric paint, it’s a good idea to place a piece of cardboard inside the bag to prevent any paint from bleeding through.
Step 3: Apply Your Design
Using your stencils, fabric paint, or markers, start applying your design to the bag. If you’re feeling adventurous, you can freehand your spooky creations! For a more polished look, consider using iron-on patches that can be easily applied with an iron.
Step 4: Add Embellishments
Once your design is dry, it’s time to add some flair. Use ribbons or fabric scraps to create handles or decorative elements. If you want to add a touch of sparkle, sprinkle some glitter on the wet paint and let it dry completely.
Step 5: Final Touches
Inspect your bag for any areas that may need touch-ups. Once you’re satisfied with your design, let everything dry thoroughly. This ensures that your stylish Halloween bag DIY will withstand the excitement of trick-or-treating!
Why DIY Halloween Bags?
Creating your own Halloween bags not only allows for personalization but also promotes creativity and resourcefulness. By opting for DIY Halloween trick-or-treat bags, you can ensure that your child stands out in a crowd with a unique design. Plus, it’s a fantastic way to spend quality time with family or friends while getting into the Halloween spirit!
Conclusion
This Halloween, take the opportunity to create spooky Halloween bags that reflect your style and creativity. With this Halloween Bag DIY guide, you can easily make your own Halloween bags that are both functional and fashionable. So gather your materials, unleash your creativity, and enjoy the process of crafting your very own stylish trick-or-treat bags. Happy Halloween!
For more tips and ideas, visit our blog at Halloween Bag DIY: Create Your Own Spooky Stylish Trick-or-Treat Bags.